Overview of ML technologies and their application in finance and insurance
Implemented projects and effects
Instructions and advice from the experts
Are you ready?
The program is based on pressing industry issues
It’s a time to change yourself for the better!


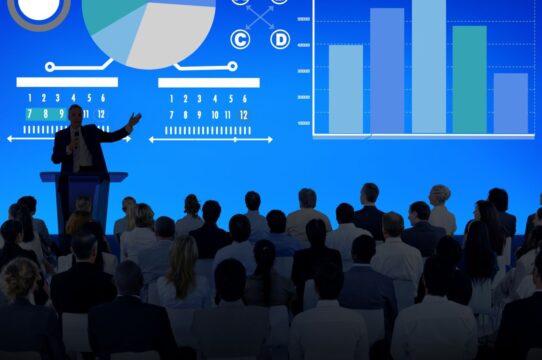
Conference Topics
A program for leaders in IT, digitalization, business architecture, IT architecture, building data operations (ML, AI) and information security.
Machine learning
A methodology for evaluating the success of machine learning projects
digital product
Solutions to accelerate digital product rollout
cloud and data centers
Hybrid infrastructure scenarios: cloud and data centers
Fraud detection
Experience in fraud detection and ML applications for business purposes
Subscribe to our newsletter
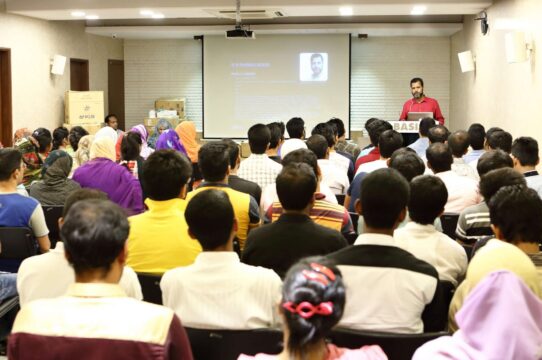
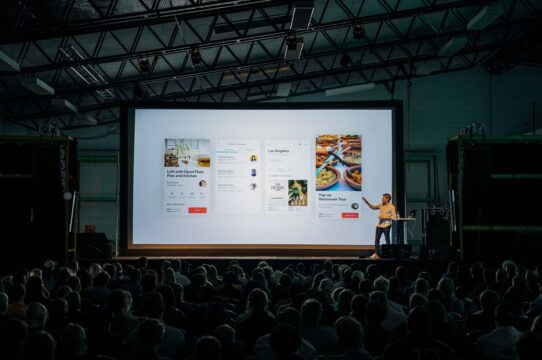
Conference gallery
Photo report from previous conferences


Speakers
The best representatives of the IT industry

")
Kevin
Solutions Architect

")
Helen
Senior Software QA Engineer
")
Diane
QA Automation Engineer

")
Jason
Software Engineer

")
Ryan
Senior Community Lead DevOps
")
Nicholas
JS Developer

")
Kelly
Senior QA engineer

")
Andrea
QA Automation
Latest News
Interesting content from IT conferences

Leveraging Internet Technologies: How Dissertations Can Provide Help and Insights
In the Information Age, internet technologies have revolutionized the way we live and work. Academic research, particularly dissertations, can play a pivotal role in understanding and leveraging these technologies effectively.[…]
Read more
Navigating the Digital Age: Exploring the Latest Trends and Innovations in Internet Technologies
The world is constantly evolving, especially in the realm of technology. With the rapid advancement of the internet, it has become an integral part of our daily lives, from communication[…]
Read more
Is Front-end Development a Good Career
For anyone considering a career in front-end development, there are a few things to consider. The job market for front-end developers is growing at a rapid pace and shows no[…]
Read moreSponsored


Testimonials
Feedback from recent conferencesFeedback from recent conferences
The most important thing for me, as someone who manages processes rather than dealing with them, was that I saw cases that already have solutions and, when they arise, I know who to turn to – which is good.
")
John Doe
Thank you very much for organizing such an event. I’ve known the load for almost 5 years now, since the time when the guys worked for us on projects. Since then its engineers are the benchmark in IT for me. Loved the report, great that you are doing internal projects, that’s very cool!
")
John Doe
Company name
It was very interesting. You have a cool team. I’ve always been encouraged by the fans of what they do. A lot of new thoughts came out of what I saw and heard. The performances were a delight! Definitely will come next year.
")
John Doe
Contact us
If you have any questions about the conference, please contact us